After all your hard work, you finally have a collection of products you’re proud to show buyers. Congratulations! That’s a great accomplishment.
So, what’s the next step?
If you want to get your products into boutiques, department stores, catalogs, or online retailers, you need a line sheet.
A line sheet, or lookbook, is a snapshot of your brand that presents your products, product information, and pricing. Buyers now expect to see a line sheet, as it’s become the industry standard for placing orders.
So how do you make a line sheet? Let’s jump in.
Choosing a Line Sheet Template
There are two ways to make a line sheet.
- Download an online template, import it into your program of choice (Microsoft Office, Photoshop, etc.) and manually customize it. Once finished, download it as a PDF and begin sharing.
This method is quickly becoming outdated because it’s slow and requires specific technical skills and software.
- Use a customizable online line sheet maker, like Brandboom. With Brandboom’s free line sheet creation tools, you can completely customize a template in minutes. Once completed, download it as a PDF or send it to potential buyers via a link. The link will take buyers to your interactive line sheet, where they can submit orders.
Before the advent of cloud-based platforms like Brandboom, if you wanted to make an update, you had to resend the PDF to all of your buyers. Now, you can update your buyers in real time. (Of course, if a buyer does request a PDF format, we’ve got you covered too.)
See how buyers can browse your line sheet:

Creating Your Line Sheet: A Step-by-Step Guide
Getting started with a new platform can be daunting, but Brandboom is easy. We’ll take you through a simple, step-by-step guide to get you up and running in minutes!
Need a Brandboom account? Click HERE to get started.
Step 1
Logged in and go to the Products tab (the diamond icon on the left hand side, where we’ll add your products to your library.
There are two ways to add products. You can import them all at once via a spreadsheet, or create the products in Brandboom. For this step, we’ll focus on creating the products, but if you’re interested in importing, check out the step by step guide here.
Click on the ‘Create’ button on the top left.

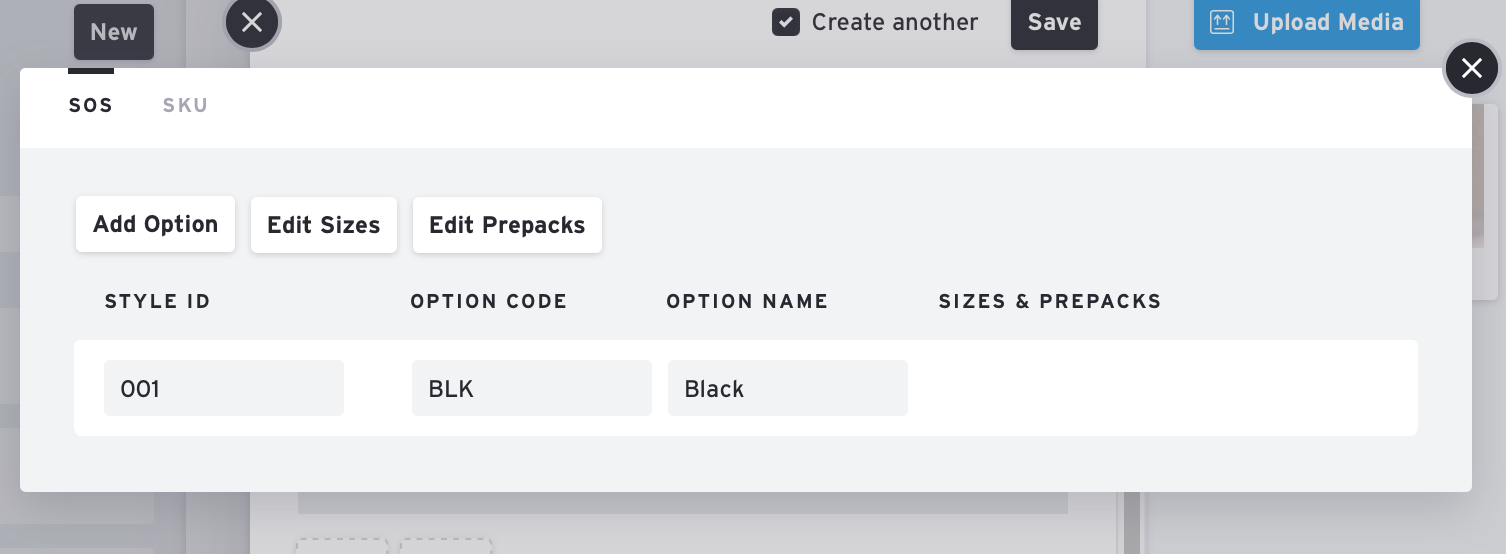
Then, fill in the fields to give your product an identity in Brandboom. Click on any of the SOS (Style-Options-Sizes) fields to begin.
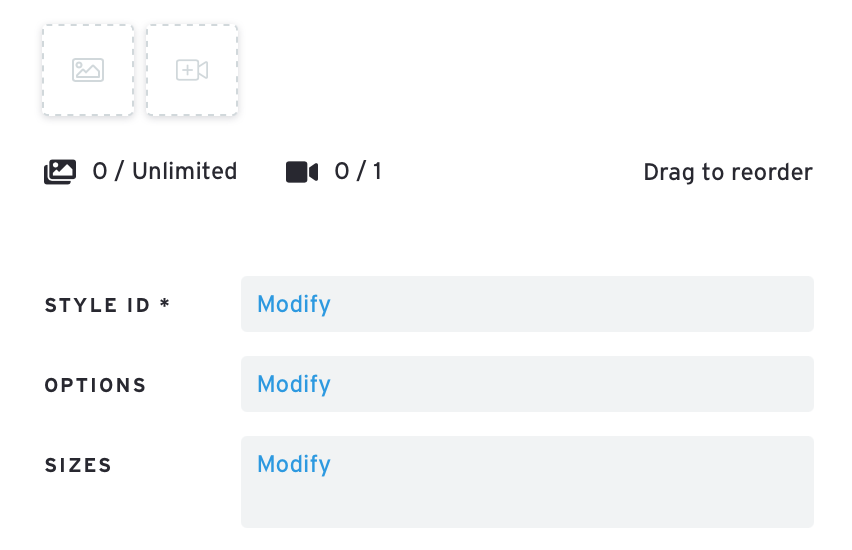
A Style ID is unique to the product you are creating and is the only required field in this step. Buyers use these details to determine whether they want to place an order, so we recommend including as much information as possible.
For this example, we’ll enter 001 as the Style ID.
Step 2
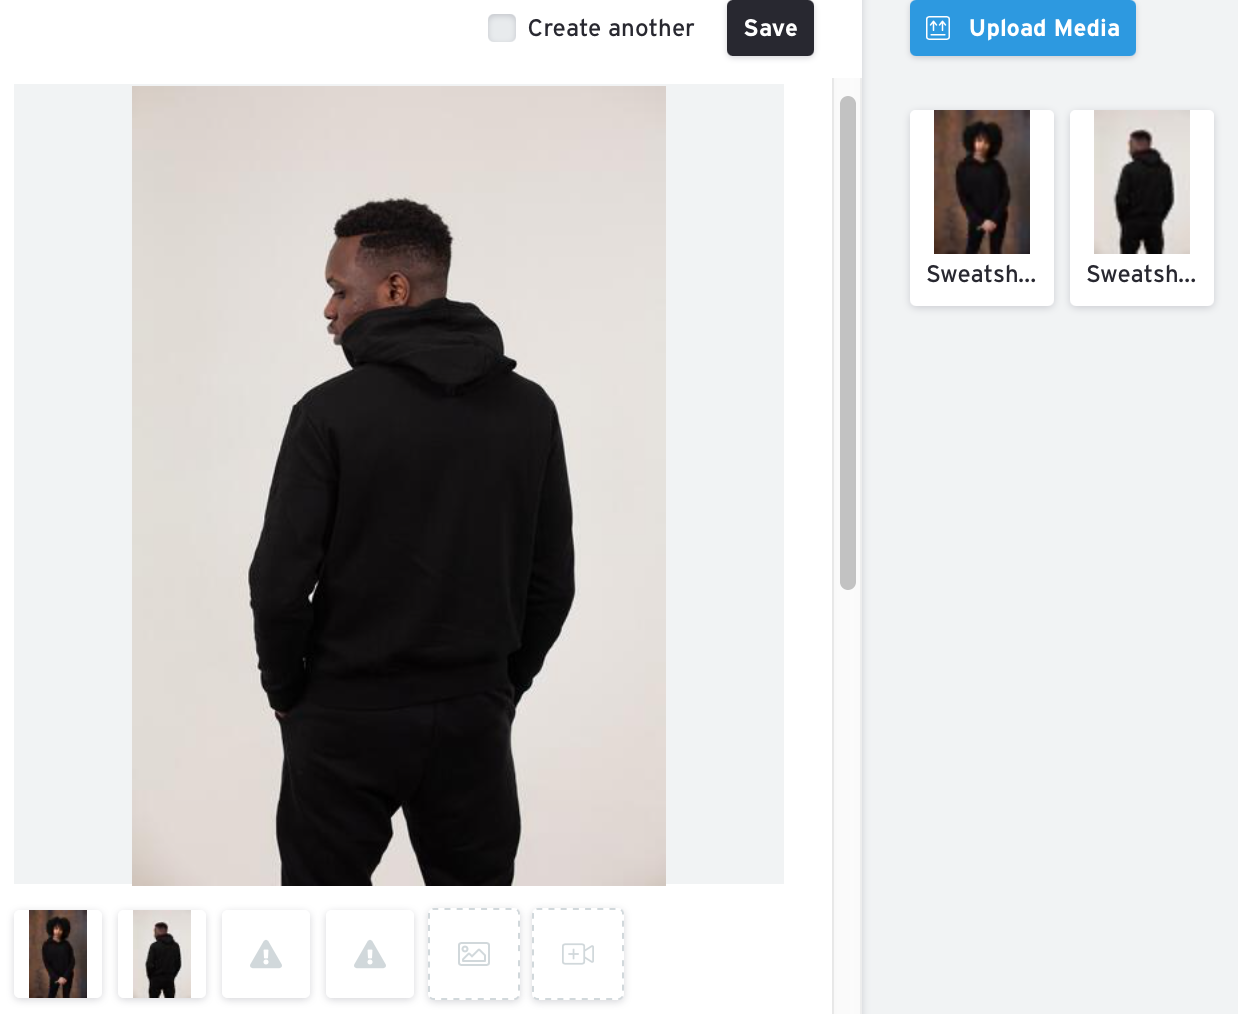
Once you fill out the fields, add your photos. Click on the ‘Upload Media’ button in the top right. Once uploaded, they’ll appear in your Media Bin on the right side of your screen.
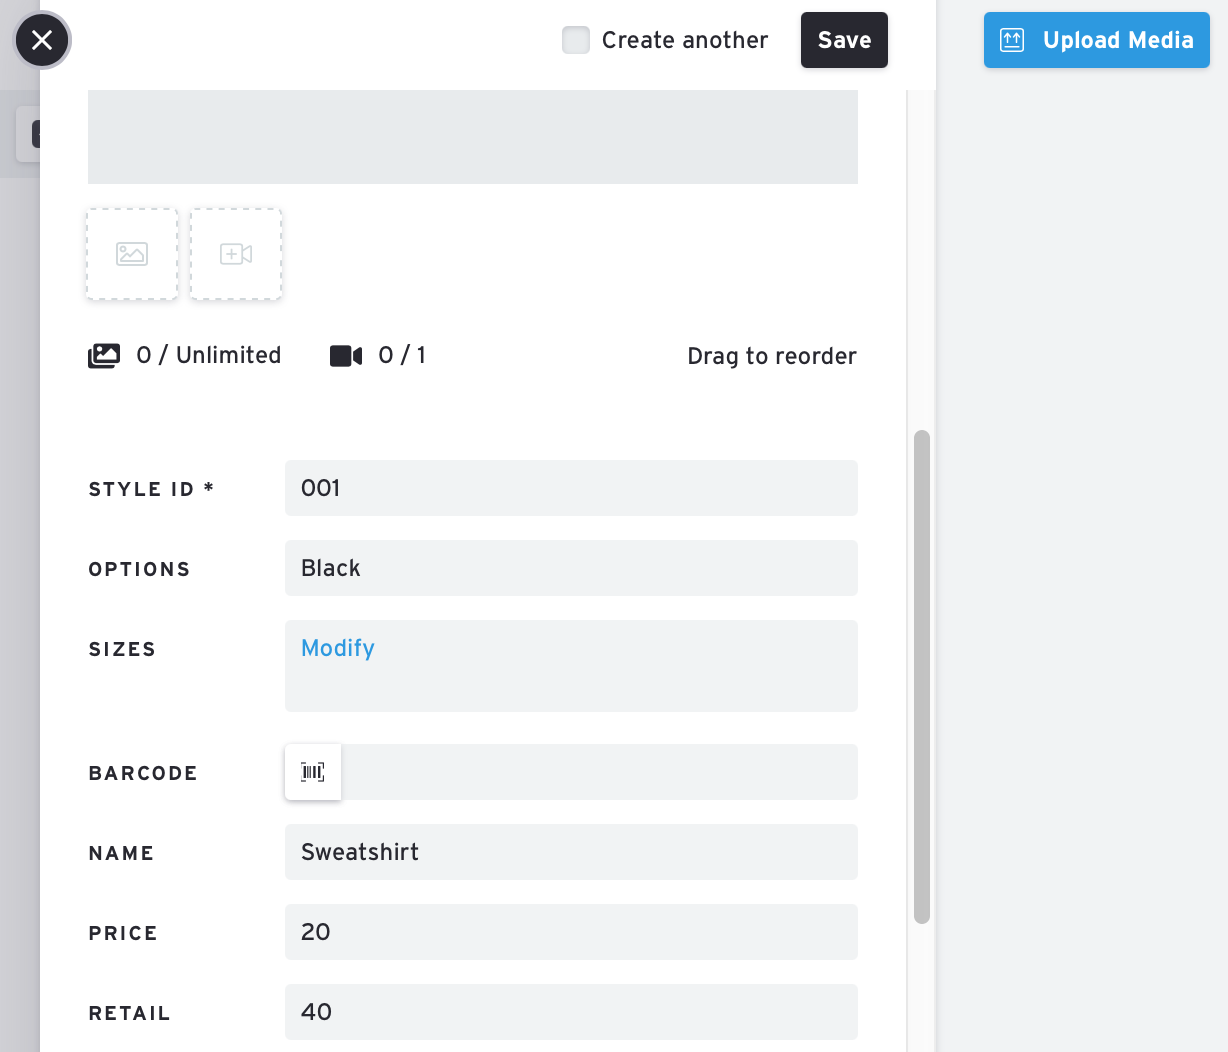
Click on the images to add the photos to your product. Once you’re happy with your product, go ahead and save.
Repeat these steps for each product that you want to have in your lookbook.
Tip: If you have many photos and don’t want to match them to their products manually, you can use Brandboom’s Auto Match feature to have your photos matched in just a few clicks.
Once you have all your products created, it’s time to create your line sheet and start taking orders!
Step 3
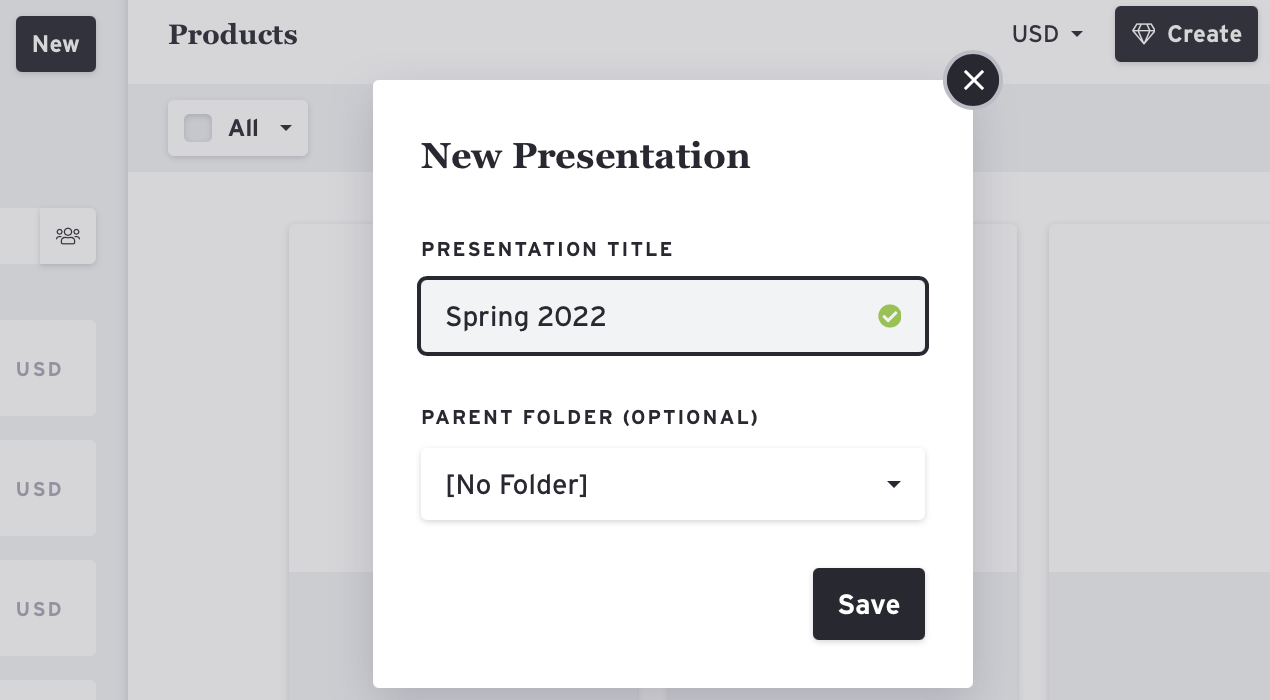
To create a presentation, click on New at the top of the Products page. When naming your presentation, you can use a season and year, collection name, etc. Think about how you’ll want to name or label your line sheets in general so that you (and your buyers) can refer to them quickly. Then hit Save.
Step 4
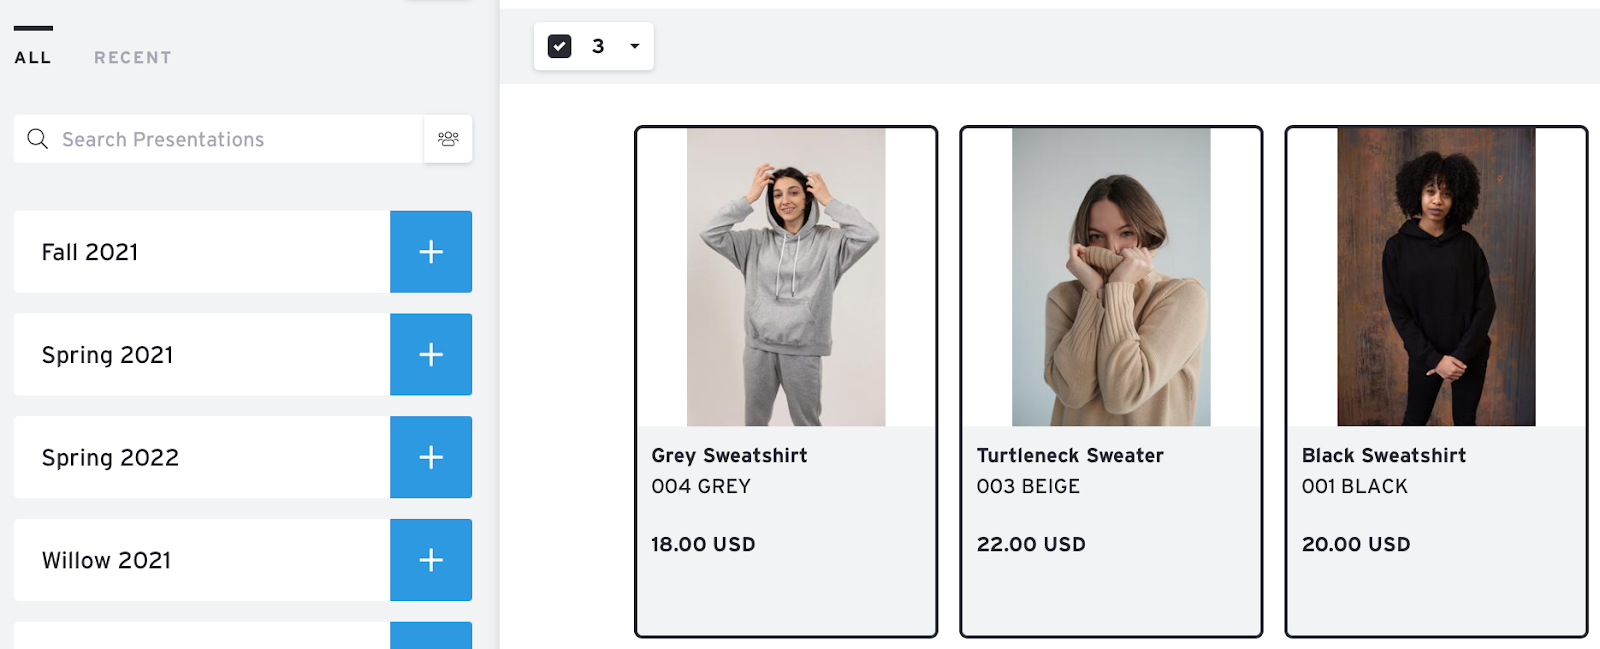
Once you save the presentation, it will appear under your Presentations list. Next, click on all the products you want to include in the line sheet. Once clicked, they will be outlined in black.
You can then add them to the presentation by clicking and dragging them to the presentation title or clicking the blue plus sign next to the presentation.
Cue the music of the angels! Cellos on the right! French horns on the left! All together now – “You officially have a line sheet!”
The products will be formatted for you, so if you want, you can stop here.
But why settle for average?
We’ve made our line sheets completely customizable to ensure they stand out from the pack.
Let’s go over how you can improve your line sheet to give yourself the best chance of success. And don’t worry; we’ll do all the formatting for you.
Customizing Your Line Sheet
Step 5
Click on your presentation name to get started. On the left, you’ll see your Presentation Settings. Here, you can set order preferences like order minimums, deposits, and whether the products will be shipped when the order is placed or at a later date.
Step 6
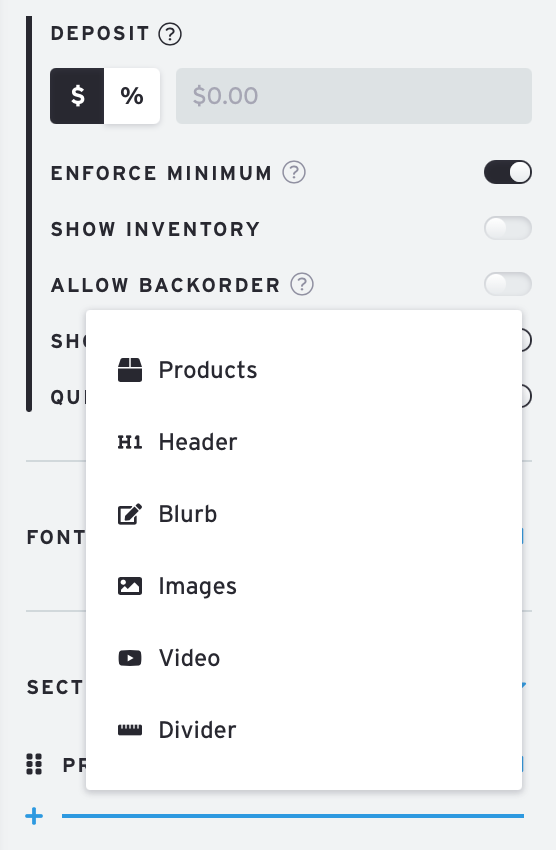
Now that your preferences are set, let’s add a title and description to introduce your line to your buyers. Scroll down to the ‘Sections’ tab and click on the plus sign under ‘Products.’ Then click ‘Header.’ to create a header section under your products:
To move it to the top, just click on the dots next to Header and drag it above Products. Alternatively, you can click and drag the sections in the actual line sheet.
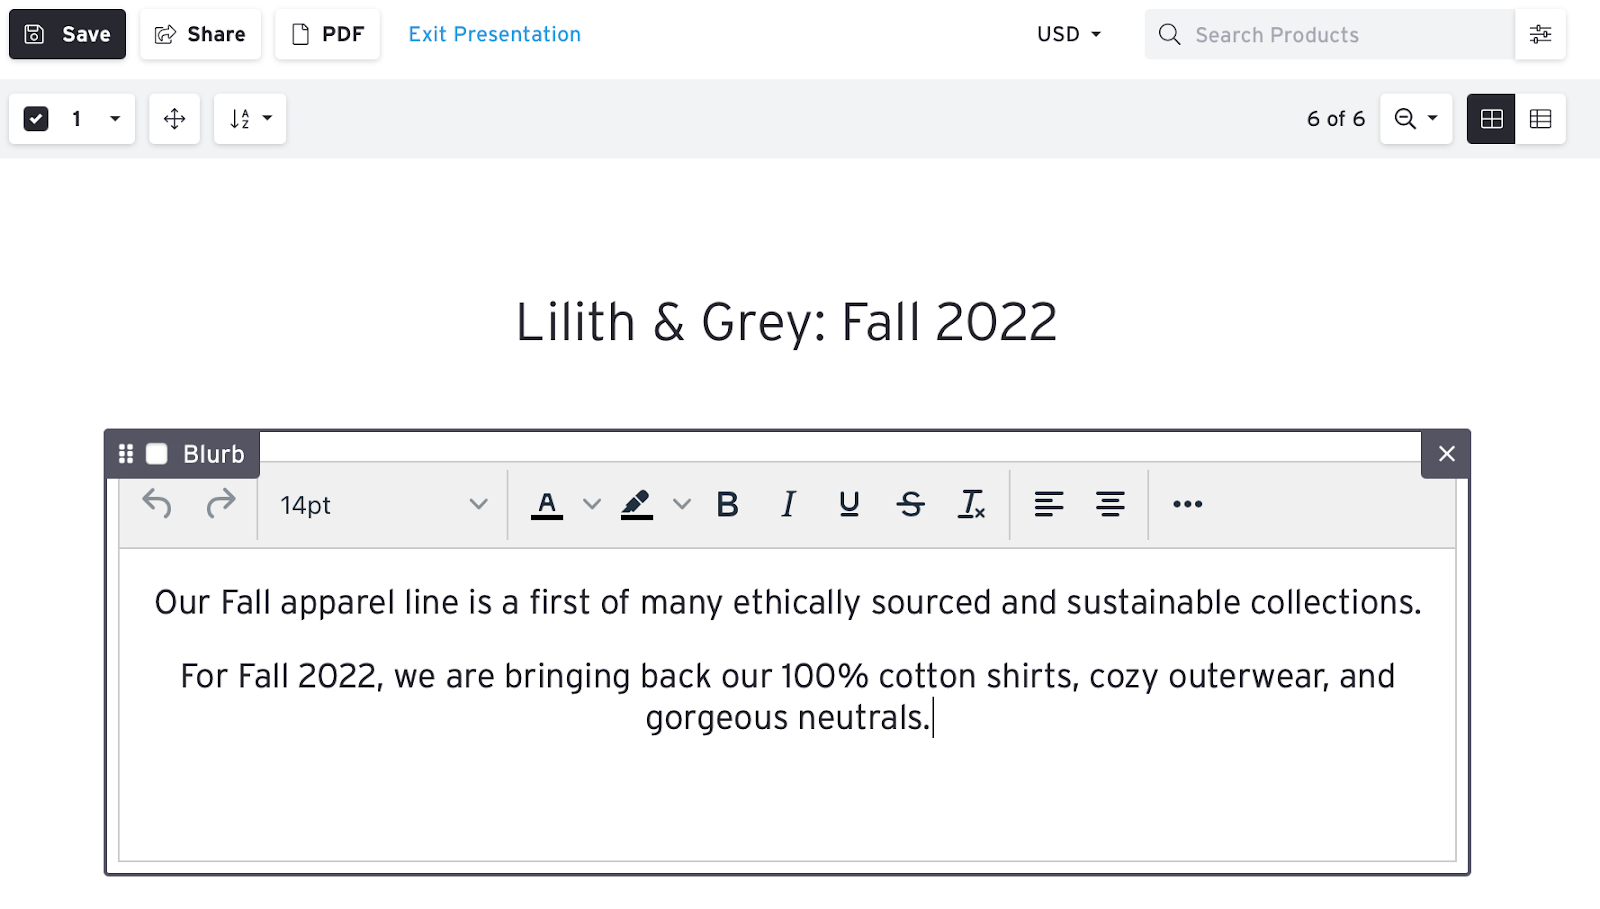
Next, hover your mouse to the right of the word Header and click the edit icon to type in your presentation title.
Step 7
Repeat Step 6, but this time add a Blurb section. Place it between your Header and your Products Bin. You can click on the Blurb section inside the line sheet to edit text, font, etc.
Use this Blurb as a description for your line. Share with buyers what makes this line unique and special. Get them excited to buy from you!
Step 8
Here’s a secret about buyers: they love sections, especially product sections (e.g., shoes, accessories, hoodies). Buyers don’t want to scroll your entire line sheet to find what they’re seeking. They want navigating your line sheet to be as simple as possible.
So, the next step is to add more product sections, dividers, headers, and blurbs to differentiate products by category or design. To move products from one Product Bin to another, simply click and drag.

Step 9
Here is where we’ll make your line sheet shine: lifestyle images and videos. These are important for your buyer to get a feel for your brand, your brand’s ideal customer, how your products look in motion, and more.
There are two ways to add images and videos. The first is to add them inside a Blurb. Click on the three dots, then choose whether you want to add a photo or video.

Alternatively, you can create sections for them. For the video, simply enter the link to embed it in your presentation.
For photos, choose how many you want in the section and whether you want a specific or automatic aspect ratio.
The auto option is the most effortless way to add photos. Simply choose how many you want, upload them, and let Brandboom figure out the best way to format them for you.
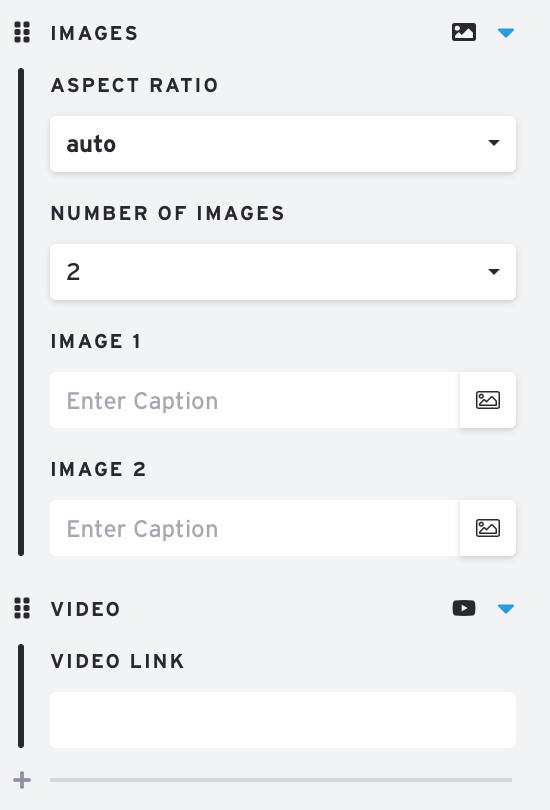
Note for videos: Because we’re embedding a link, video must be hosted somewhere like Youtube, Vimeo, Facebook, etc.
Step 10
Once you’ve added all of your elements, it’s time for one final step!
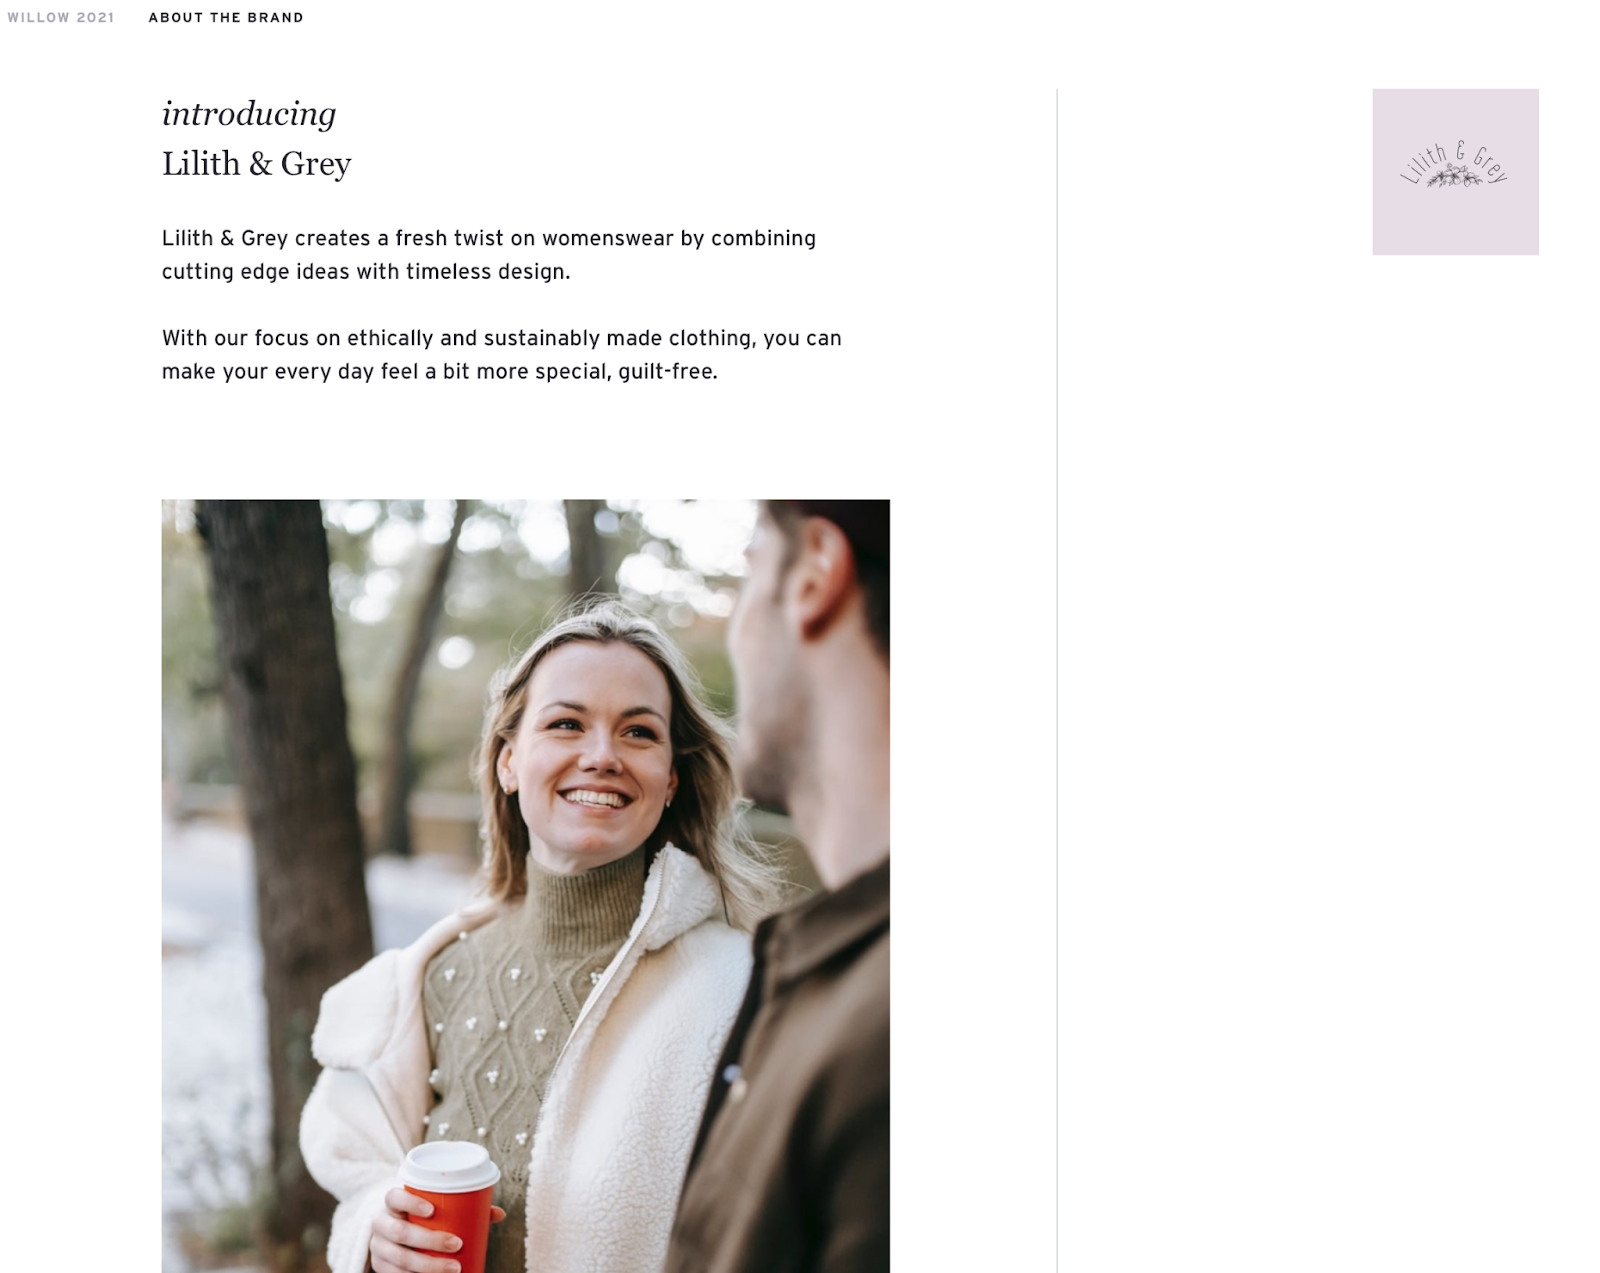
Your line sheet in Brandboom comes with an About the Brand tab. It’s a great tool to attract new buyers who want to learn more about your business.
To complete this section, click on your brand’s circle icon (underneath the home icon) on the very left of your screen. Then click Settings.
Once in your brand settings, the Settings and Branding tabs will allow you to add logos, videos, images, and texts.
Sharing Your Line Sheet
Once you’ve completed this section, you’re all done! You’ve created a beautiful line sheet that buyers will love.
Now, all you have to do is share it with them!
Click the Share button at the top of your presentation, then Create Link to generate a unique URL for your lookbook.
So, what are you waiting for?
Start sending out your line sheet today!
If you need any more assistance setting up your line sheet, please visit our super handy Getting Started with Brandboom Tutorial for more in-depth, step-by-step guides.
Haven't tried Brandboom yet? Get a free account today!


.jpg)